4 minutes
Making Mermaids
A Family Journey into AI-Generated Art
This guide will provide and overview of the technology and motiviations behind it. Here is some example output and the workflow.
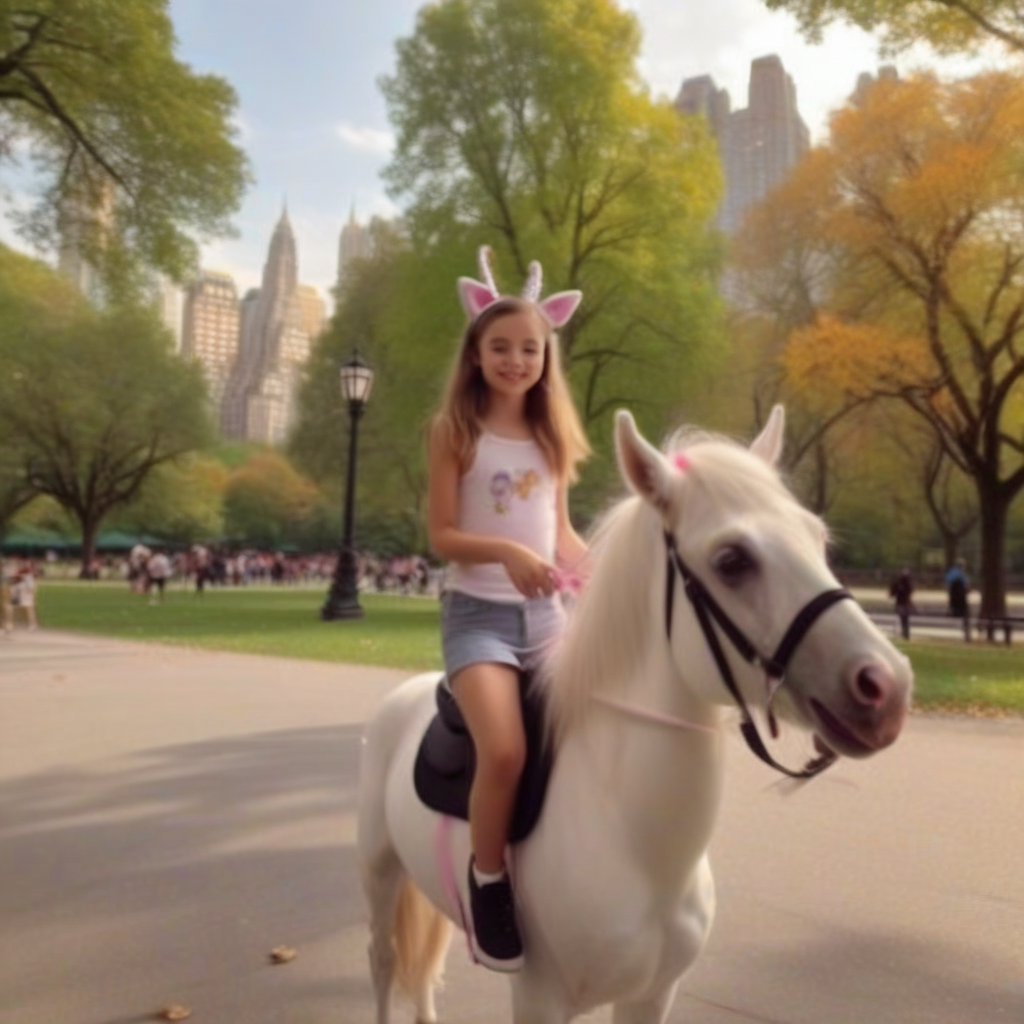
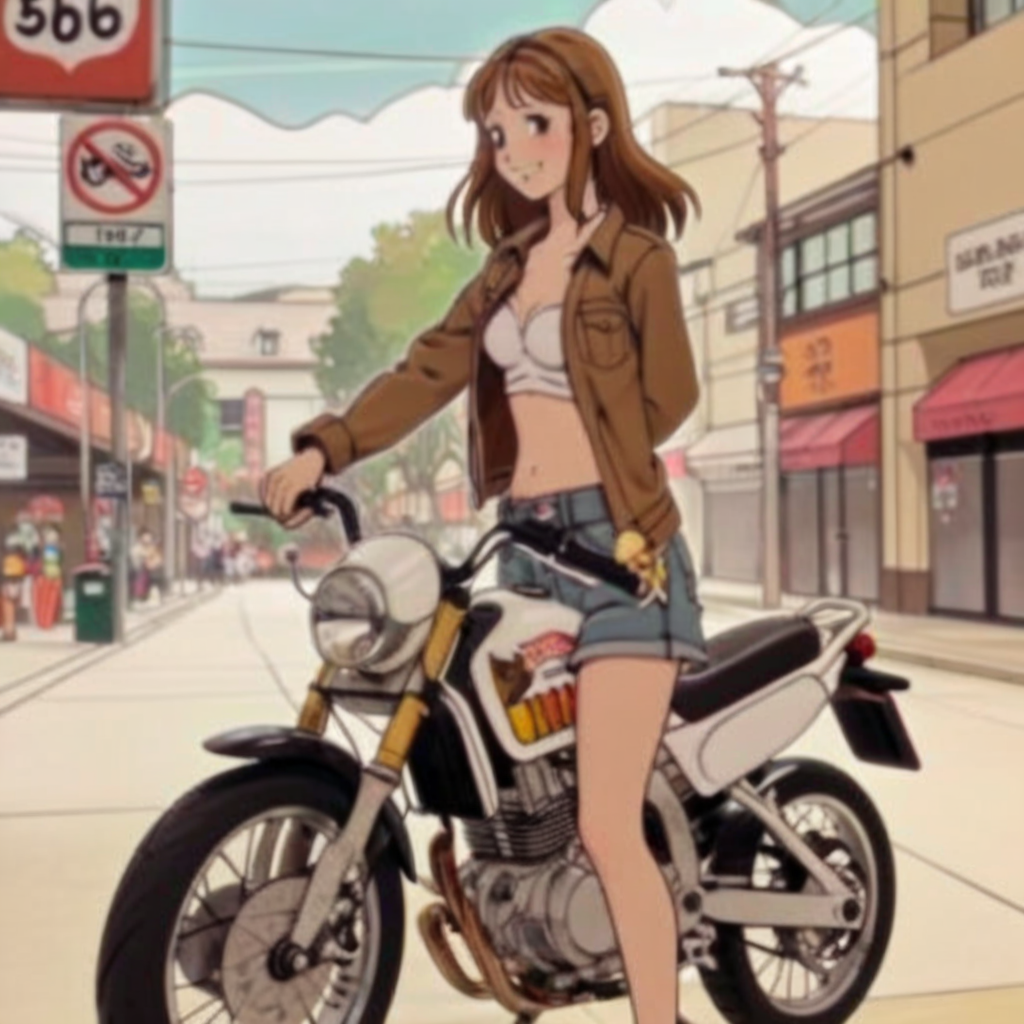
Output

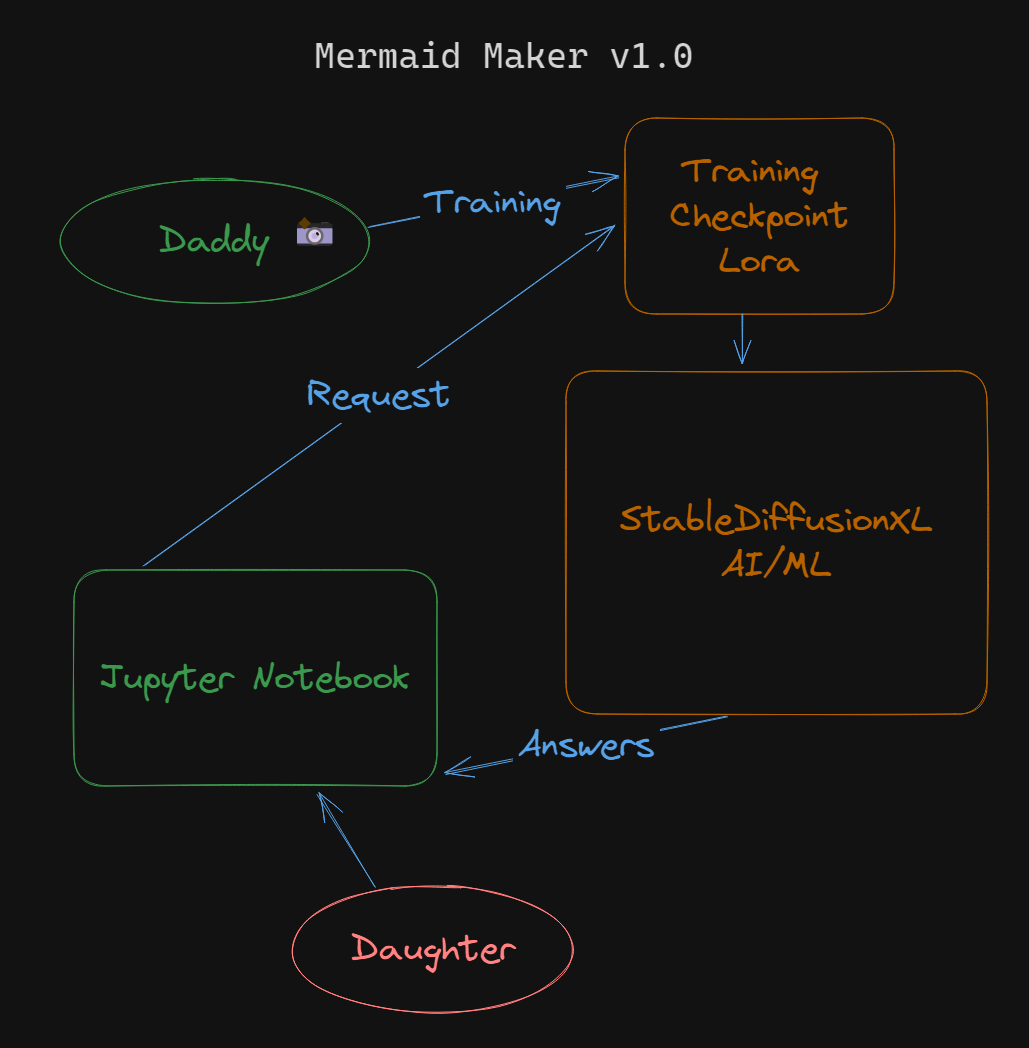
Workflow
Introduction to AI-Generated Art
AI-generated art refers to the creation of visual pieces through algorithms and machine learning models. This innovative field combines elements of computer science, data analysis, and creative design, allowing for the generation of unique and complex images that can mimic various artistic styles or create entirely new forms of visual expression. The process involves feeding a machine learning model with large datasets of images, enabling it to learn and then generate new images based on given prompts or parameters.
Overview of Using StableDiffusionXL and Jupyter Notebooks
StableDiffusionXL 🖼️
- StableDiffusionXL is an advanced AI model designed for image generation.
- It’s part of the broader family of generative models that use techniques like deep learning to produce high-quality, detailed images.
- This model stands out for its ability to interpret and visualize complex prompts, making it ideal for custom art projects, like making mermaids 🧜♀️🧜!
Jupyter Notebooks 🌍
- Jupyter Notebooks provide an interactive computing environment where you can combine code execution, rich text, visualizations, and other media.
- In this project, Jupyter Notebooks serve as the platform to run and interact with the StableDiffusionXL model.
- They allow for real-time adjustments and visual feedback, making them user-friendly for both technical and non-technical users.
- The notebook for this project is specifically designed to be easy to use, enabling my daughters to generate images by simply inputting their names and desired scenarios.
Personal Motivation
- My Daughters, Alex and Solana saw me recently experimenting with Generative Art and asked me if I could make them as mermaids. I could generate mermaids no problem, but putting them in the photo was beyond my current skills.
- I’ve been meaning to introduce my girls into Python 🐍, so this is a good excuse.
- If anything will motive me, its my little ones. It’s time to upskill!
Section 1: Understanding the Basics
- StableDiffusionXL allows for you to text to image generation.
- JupyterNotebooks will provide a simple interface for my daughters to interact with this model. It’s true I could have used Gradio, but I want to teach programming and this is cooler.
Section 2: Setting Up the Environment
Requirements
- A Windows 11 Computer with Nvidia RTX GPU with >= 8GB of RAM
- A local area network
Setup
- Setup WSL2 [10 minutes]: Here is a guide
- Setup JupyterNotebooks [10 minutes] Install Instructions
- Optional - Add users
- Login as each user and correct pip deficiencies
- Optional - Configure firewall to expose WSL2, here is an example
netsh interface portproxy add v4tov4 listenaddress=0.0.0.0 listenport=8000 connectaddress=172.21.15.85 connectport=8000
Section 3: Personalizing with Names
StableDiffusionXL doesn’t know my children, and doesn’t know their names. Let’s introduce them to each other. We do this through training using some images of our subjects.
Step by Step
- Take your pictures 📸 and put them in a folder 📂. You should try to cut them down to 512x512, this site works well Birme.net.
- Create a virtual python enviroment. If you don’t you’ll run into dependency troubles.
python -m venv training_girls
- Activate it the environment
cd training_girls
source bin/activate
- Install autotrain
pip install -U autotrain-advanced
autotrain setup --update-torch
- Here is a training command, you’ll want to update the prompt slightly and corresponding directories.
This training took about 20 minutes on an RTX 3090 TI.
autotrain dreambooth \
--model stabilityai/stable-diffusion-xl-base-1.0 \
--project-name "/mnt/c/Users/matt/Sourcecode/ai/trained/alex-autotrained-xl" \
--image-path "/mnt/c/Users/matt/Sourcecode/ai/datasets/Alex" \
--prompt "photo of alex girl" \
--resolution 1024 \
--batch-size 1 \
--num-steps 500 \
--fp16 \
--gradient-accumulation 4 \
--lr 1e-4
Section 4: The Art of Making Mermaids
Now you can test your trained model on top of stable diffusion, you can use this to make mermaids or whatever else without going to the JupyterNotebook process.
from diffusers import StableDiffusionXLPipeline, StableDiffusionXLImg2ImgPipeline
import torch
import time

torch.cuda.empty_cache()

lora_model_id = "/mnt/c/Users/matt/Sourcecode/ai/trained/alex-autotrained-xl"
pipe = StableDiffusionXLPipeline.from_pretrained("stabilityai/stable-diffusion-xl-base-1.0", torch_dtype=torch.float16)
pipe = pipe.to("cuda")

#Add in our trained model
pipe.load_lora_weights(lora_model_id,weight_name="pytorch_lora_weights.safetensors")

#refiner = StableDiffusionXLImg2ImgPipeline.from_pretrained("stabilityai/stable-diffusion-xl-refiner-1.0", torch_dtype=torch.float16)
#refiner.to("cuda")

#Adjust this!
prompt = "A picture of alex girl as a mermaid in anime style"
num_inference_steps = 50


generator = torch.Generator("cuda")
image = pipe(prompt=prompt, generator=generator,num_inference_steps=num_inference_steps).images[0]
#image = refiner(prompt=prompt, generator=generator).images[0]
image.save(str(time.time()) + ".output.png")
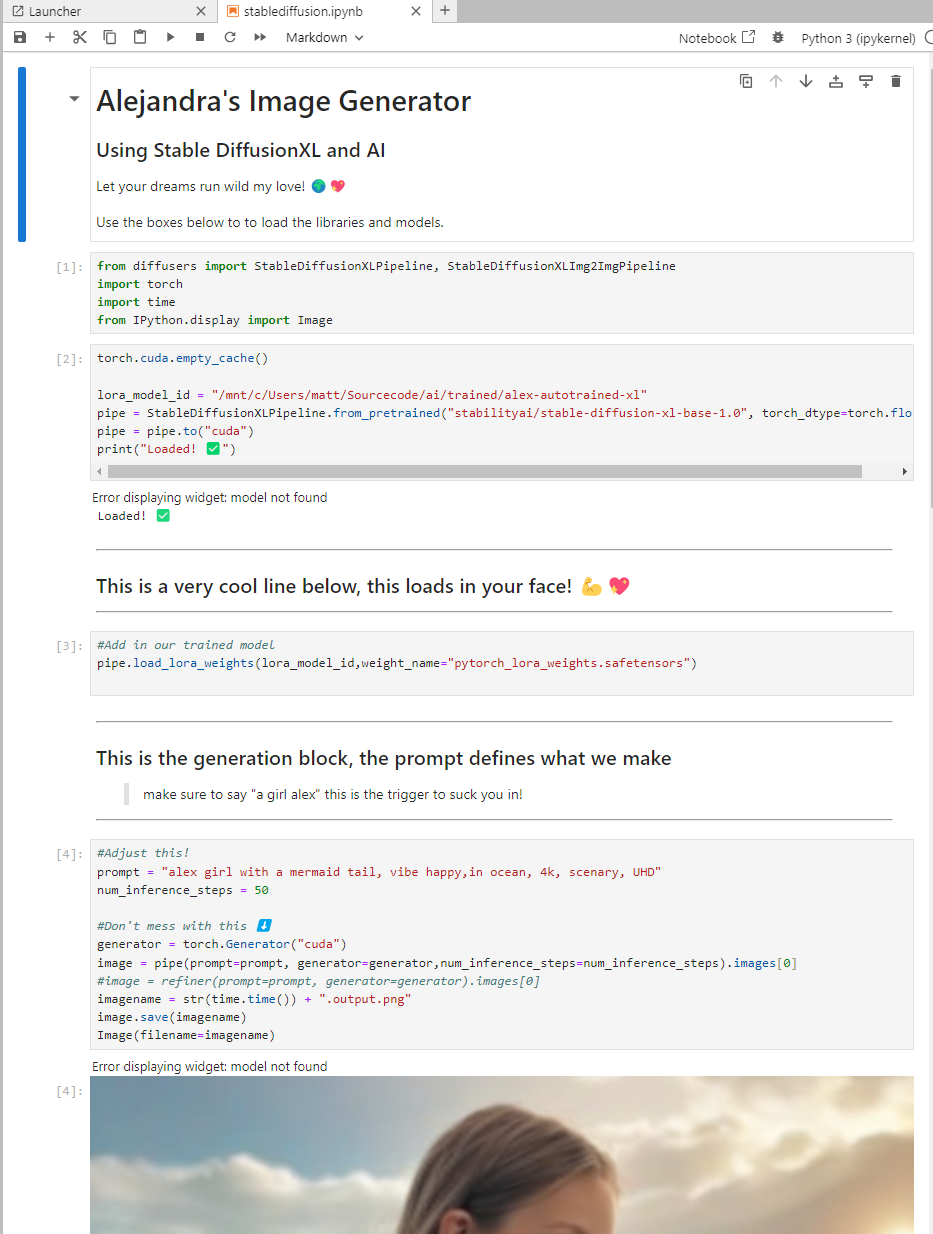
Now here is a kid friendly JupyterNotebook, my girls use it on their iPads. They modify the prompt and press play and the images output to the bottom, additionally the images get saved into the same folder.
Section 5: Safety and Ethics in AI Art for Kids
- This is dangerous 💀 like an internet search.
- These AI models will make what you ask them, it’s important to stay engaged with your kids to keep them from venturing into non-kid friendly ideas.
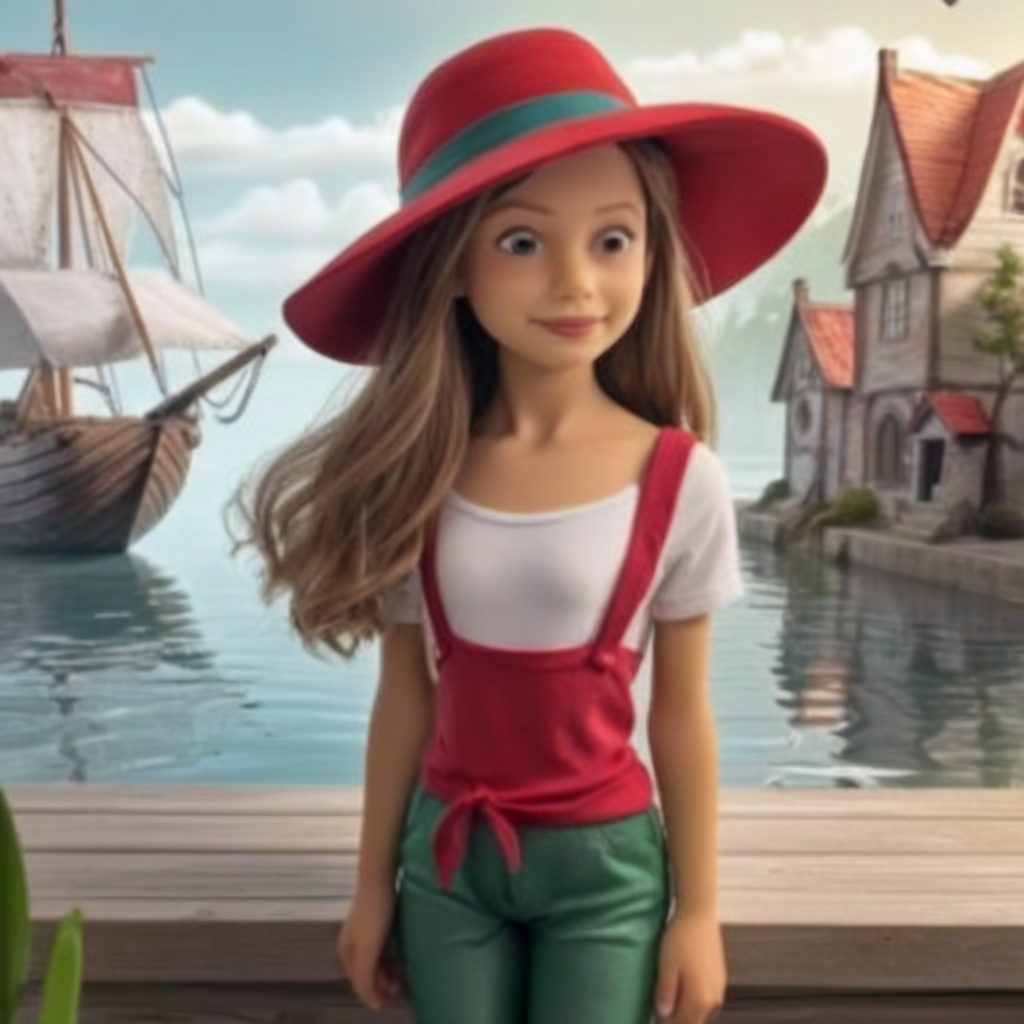
Section 6: Our Family’s Creations
Checkout these cool creations!
| Alex | |
|---|---|
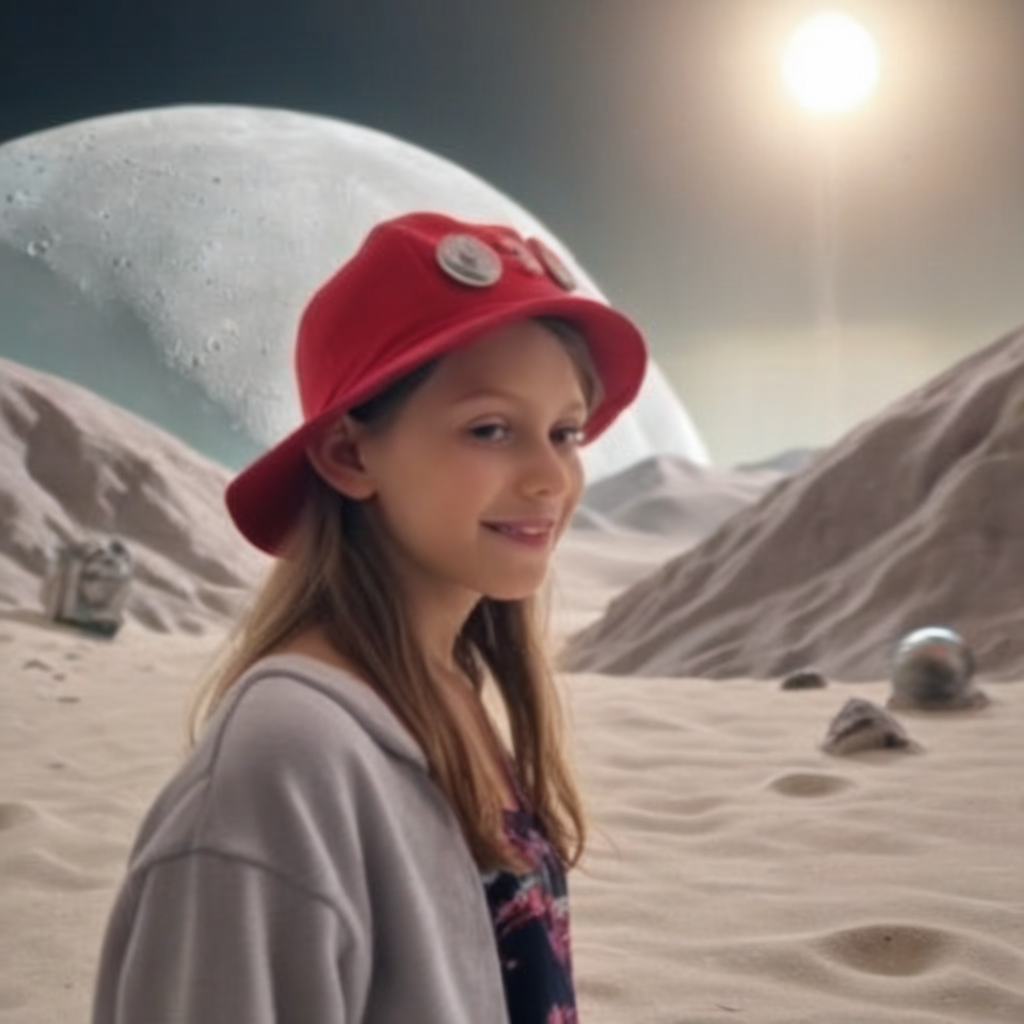 | 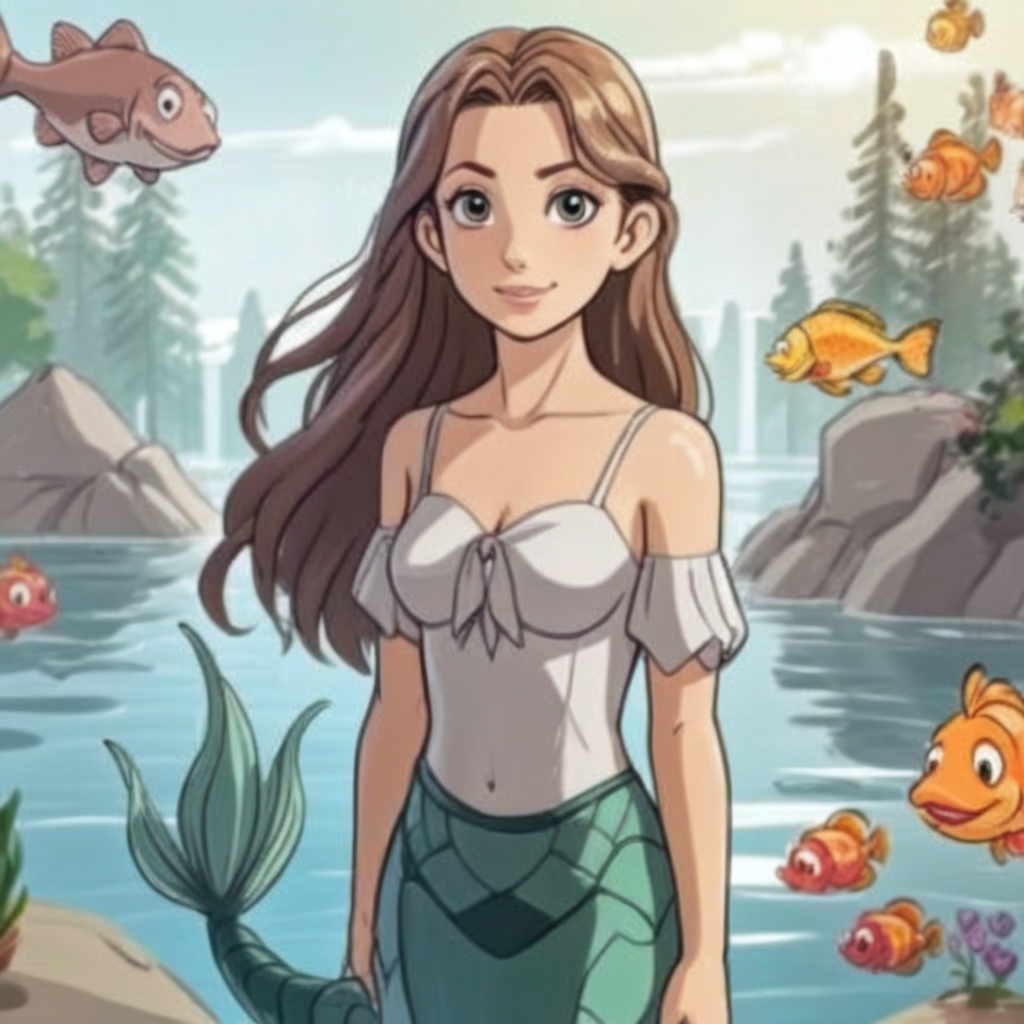 |
 | 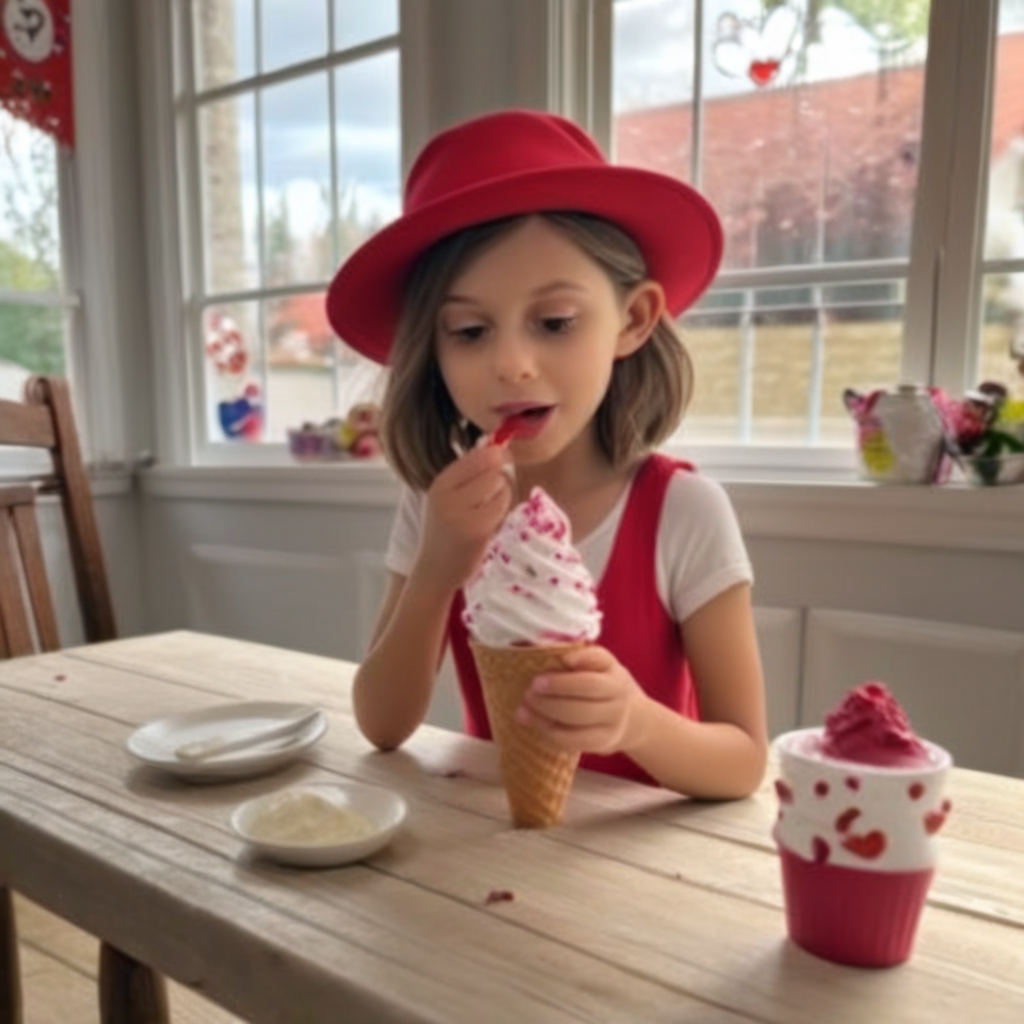 |
| Solana | |
|---|---|
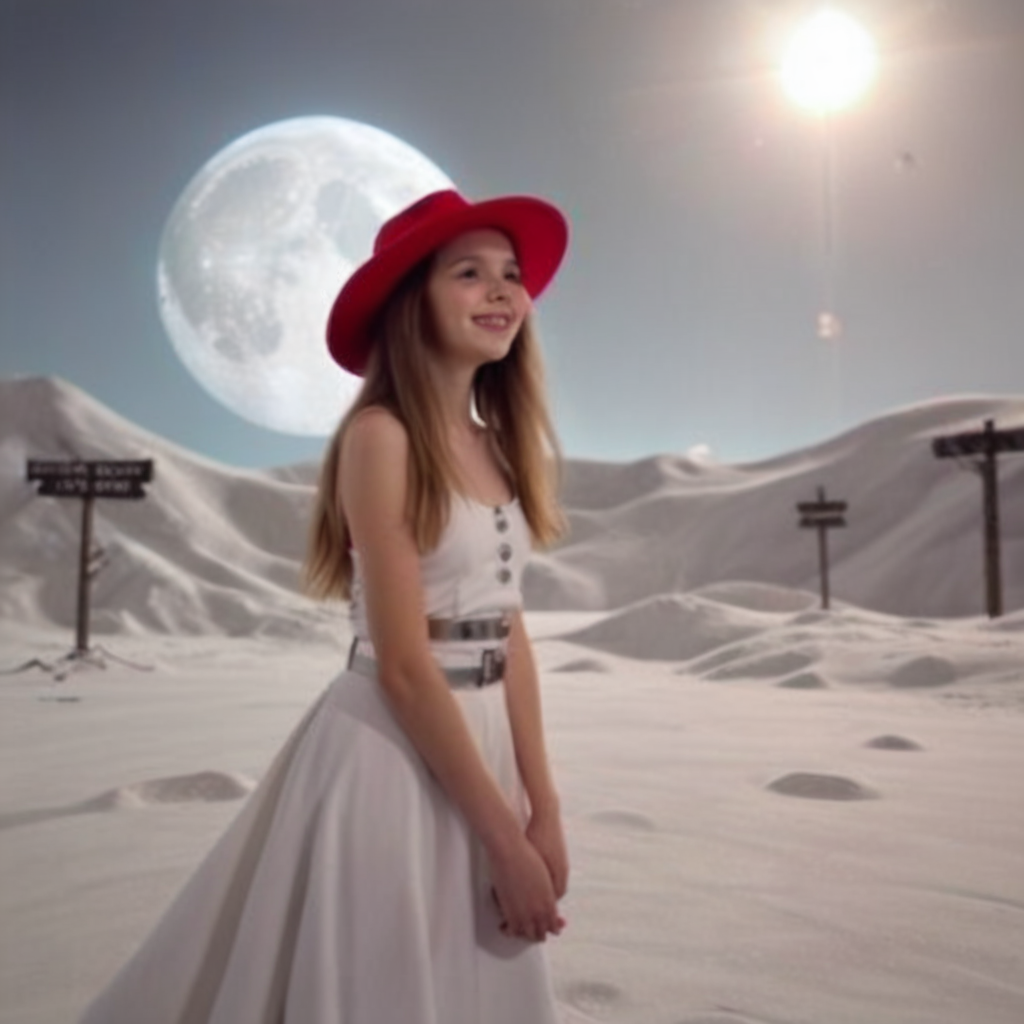 | 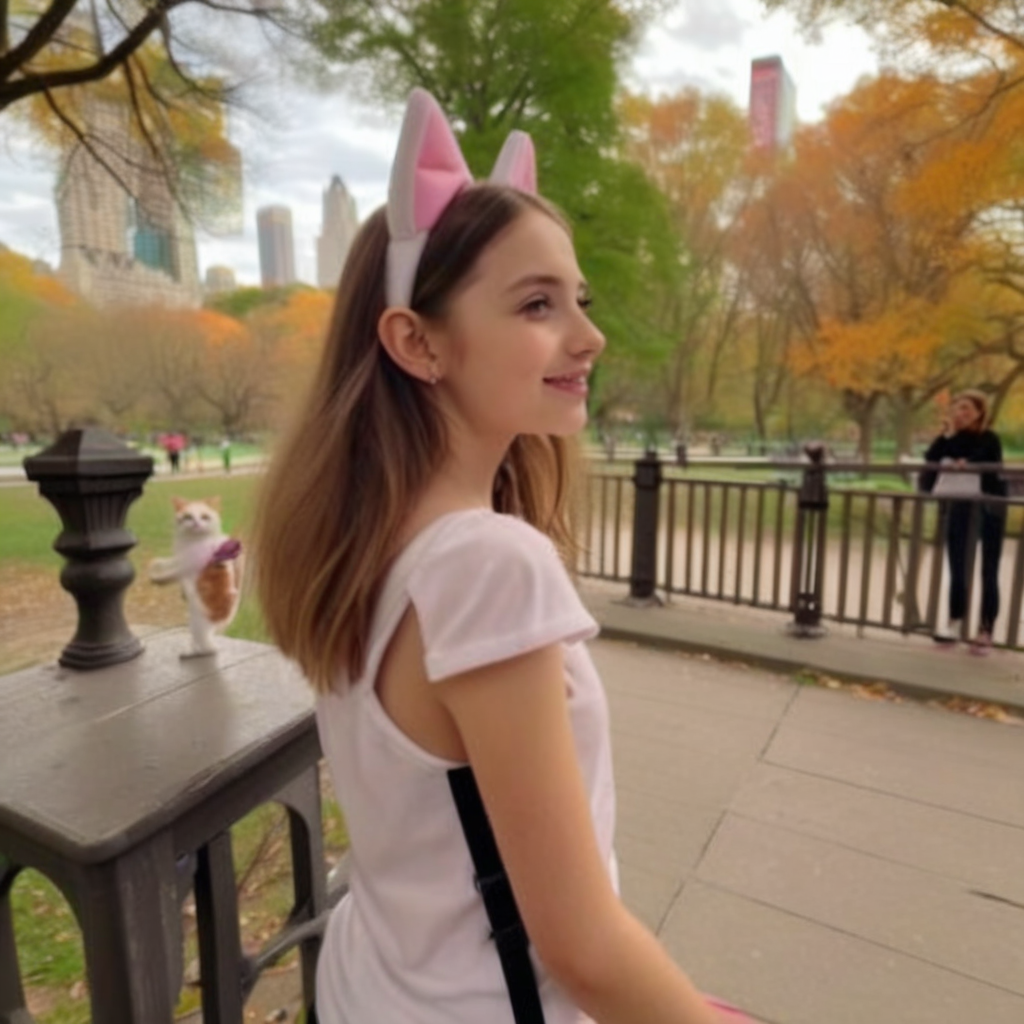 |
 |  |
Conclusion
- My girls love this 💖
- This exercise encourages creativity like storyboarding and allows for a short creation time (<10 seconds>).
Call to Action
- Imagine the love you could get implementing this for your kids!
- You should do it, it took me about 4 hours to put this together, but with this guide you can do it in less than an hour.